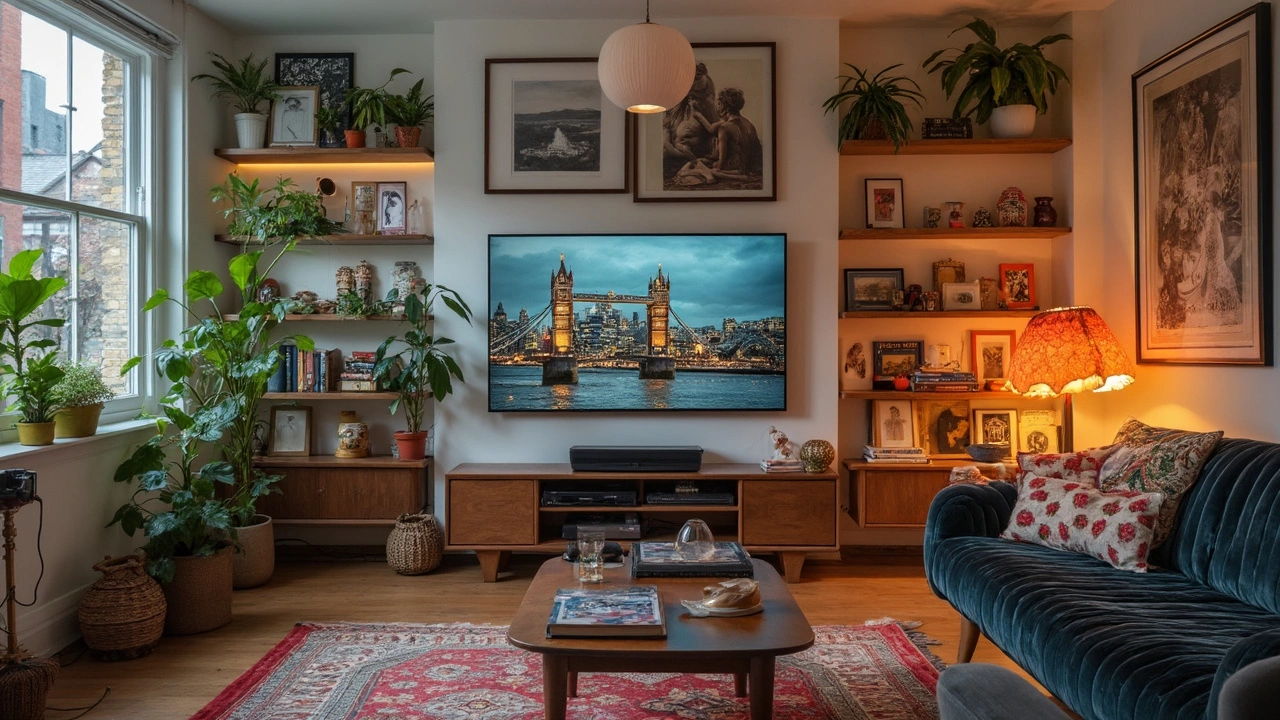
TV Mounting Guide: How to Mount Your TV Safely and Get the Best Viewing Angle
Putting a TV on the wall can make a room look neat, free up floor space, and give you a cinema‑like feel. But a bad mount or the wrong height can ruin the experience and even break the screen. Below is a straightforward plan that walks you through picking the right mount, finding the sweet spot, and avoiding the usual slip‑ups.
Choosing the Right Mount and Height
First, check the TV’s VESA pattern – those are the four holes on the back. Most wall brackets list the compatible patterns, so match them up. If you have a heavy 65‑inch screen, go for a tilting or full‑motion mount rated for at least the TV’s weight. A low‑profile static bracket works for lighter sets and saves space.
Next, decide the viewing height. A good rule of thumb is to keep the screen’s center about 42‑48 inches from the floor, or roughly at eye level when you’re seated. Measure the distance from your couch to the wall, then use a simple formula: screen height × 0.5 = eye‑level height. Adjust up or down a few inches based on personal comfort.
Mark the stud locations with a stud finder. Mounting on studs gives the strongest support; avoid drywall alone unless you use special anchors that can hold the TV’s weight. Use a level to make sure the bracket is perfectly horizontal – a tilted mount looks cheap and can stress the bolts.
Tools you’ll need are simple: a power drill with the right bits, a stud finder, a level, a screwdriver set, and a helper to hold the TV while you secure it. Having these on hand saves trips to the garage mid‑job.
Common Mistakes and How to Avoid Them
One big mistake is ignoring cable length. Before you drill, snap a picture of where your power outlet and HDMI ports sit. Run a short piece of cord from the outlet to the mounting spot to see if it reaches without stretching. If it’s tight, consider an extension cord or a low‑profile cable cover.
Another slip‑up is mounting too high for the room’s size. In a small bedroom, a TV placed above a headboard can force you to crane your neck. Keep the screen within a comfortable viewing angle of 15° up or down; you can tilt the mount slightly to fine‑tune the angle.
Don’t forget to tighten all screws after the TV is on the wall. The weight of the screen can gradually loosen bolts, especially on tilting mounts. Give each bolt a final check after a week of use.
Finally, safety first. If you have kids or pets, install a safety strap that secures the TV to the bracket. This prevents the screen from swinging or falling if someone bumps the wall.
With the right mount, correct height, and a few careful checks, you’ll get a clean look and a comfortable viewing experience that lasts years. Grab a drill, follow the steps, and enjoy your new wall‑mounted TV today.
After the TV is up, wipe the surrounding wall and the screen with a microfiber cloth to remove dust from drilling. A clean wall looks professional and protects your new setup.
TV Stand Alternatives That Really Work
Forget the standard TV stand—there are smarter and more interesting ways to display your TV. This article lays out practical, stylish options for anyone looking to swap out their bulky stand. From wall mounts to unconventional furniture hacks, you'll find ideas that fit your space and style. Whether you're working with a tiny apartment or just craving a new look, these fresh solutions make your entertainment setup stand out. Get ready for some bold, useful ideas you probably haven’t tried before.
More
