Vinyl Wrap Basics: Turn Old Furniture into Fresh Pieces
If you have a chair, table or cupboard that looks tired, a vinyl wrap can give it a brand‑new face without the cost of buying new. Vinyl is thin, flexible and comes in dozens of colors and patterns, so you can match any style from cottage charm to modern sleek. The best part? You can do most of the work yourself with just a few tools.
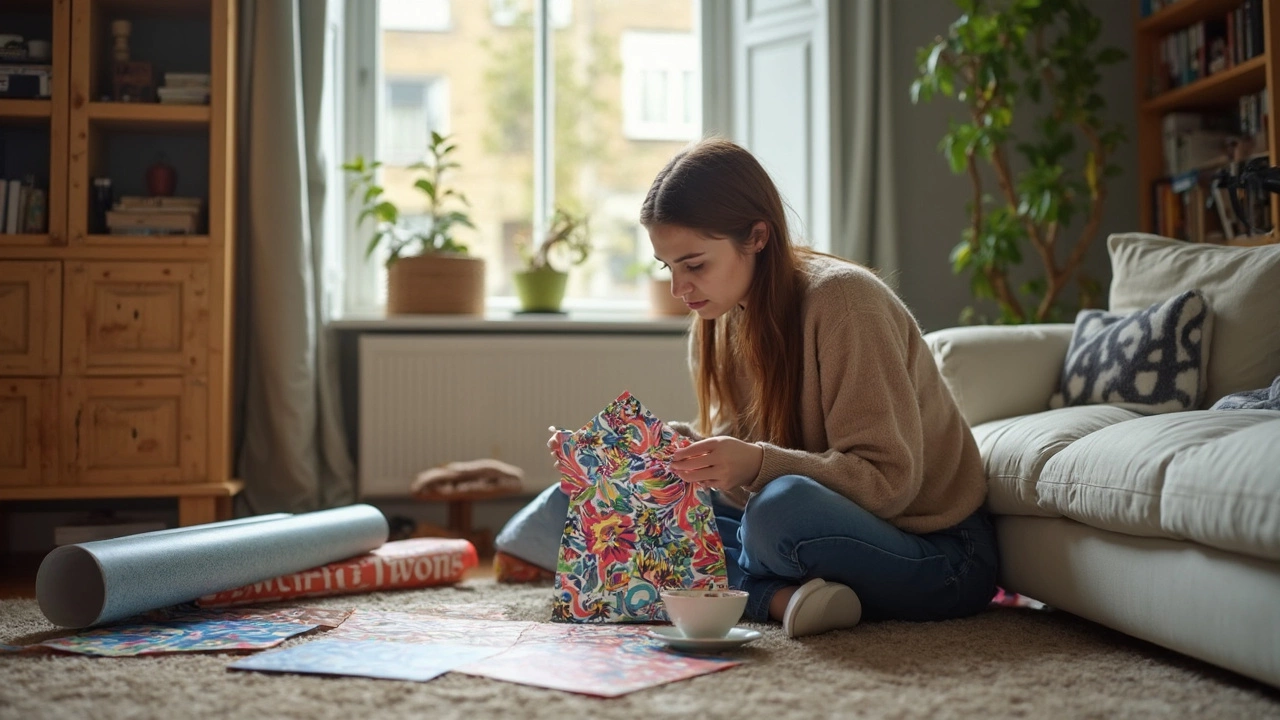
Choosing the Right Vinyl for Your Project
First, think about where the piece will live. For a dining table that sees spills, pick a heavy‑duty, water‑resistant vinyl. For a bedroom dresser that only gets dust, a standard matte finish works fine. Look for vinyl that has a printable surface if you want a custom image – many suppliers let you upload your design and get it printed on demand.
Check the thickness, too. A 0.25‑mm sheet is easy to handle and perfect for cabinets, while a 0.35‑mm sheet adds durability for high‑traffic furniture. If you plan to wrap outdoor pieces, choose a UV‑protected vinyl to stop fading under the sun.
Step‑by‑Step Application Guide
1. Prep the surface. Clean the furniture with mild soap, rinse, and let it dry completely. Any grease or dust will cause bubbles later. Lightly sand glossy finishes so the vinyl adheres better.
2. Measure and cut. Lay the vinyl on a flat surface, measure each panel, and cut a little extra on each side. A sharp utility knife or rotary cutter gives clean edges.
3. Position the wrap. Peel back a small section of the backing paper and line the vinyl with the furniture edge. Use a level or straight edge to keep it straight.
4. Apply and smooth. As you peel more backing, press the vinyl with a squeegee or a flat credit card. Work from the center outward to push out air bubbles. If a bubble forms, lift the vinyl gently and re‑smooth.
5. Trim excess. Once the wrap is smooth, trim the overhang with a sharp blade. Heat the edges with a hair dryer for a few seconds, then press them down for a clean seal.
6. Finish. For a professional look, seal the edges with a clear vinyl edge sealant. This prevents peeling and adds extra water resistance.
These steps work for most pieces, but larger items like sofas may need the vinyl applied in sections. At Rustic Social we can prep and wrap big pieces in our workshop, saving you time and ensuring a perfect finish.
After wrapping, care is simple. Wipe with a damp cloth and avoid harsh chemicals. If the wrap gets a scratch, a small heat gun can stretch the surrounding area back into place.
Vinyl wraps let you experiment with trends without a long‑term commitment. Want a bold chevron pattern for a coffee table? Try it now and switch to a neutral tone later. Need a seasonal look for a patio set? A reversible vinyl makes the change effortless.
Ready to give your furniture a fresh look? Start with a small drawer or side table to practice the technique. Once you’re comfortable, move onto larger pieces or ask Rustic Social to handle the heavy lifting. With the right vinyl and a few simple steps, your home can get a stylish upgrade in a weekend.
Vinyl Wrap Furniture: How Hard Is It Really?
Thinking about vinyl wrapping your furniture? This guide explains how hard it really is to cover storage units, cabinets, or shelves with vinyl. Get straight answers on what works, what gets tricky, and how to avoid common mistakes. Plus, you’ll pick up tips for smoother wrapping and longer-lasting results. If you’re curious about DIY makeovers, this is for you.
More